A Classic for everyone at the table
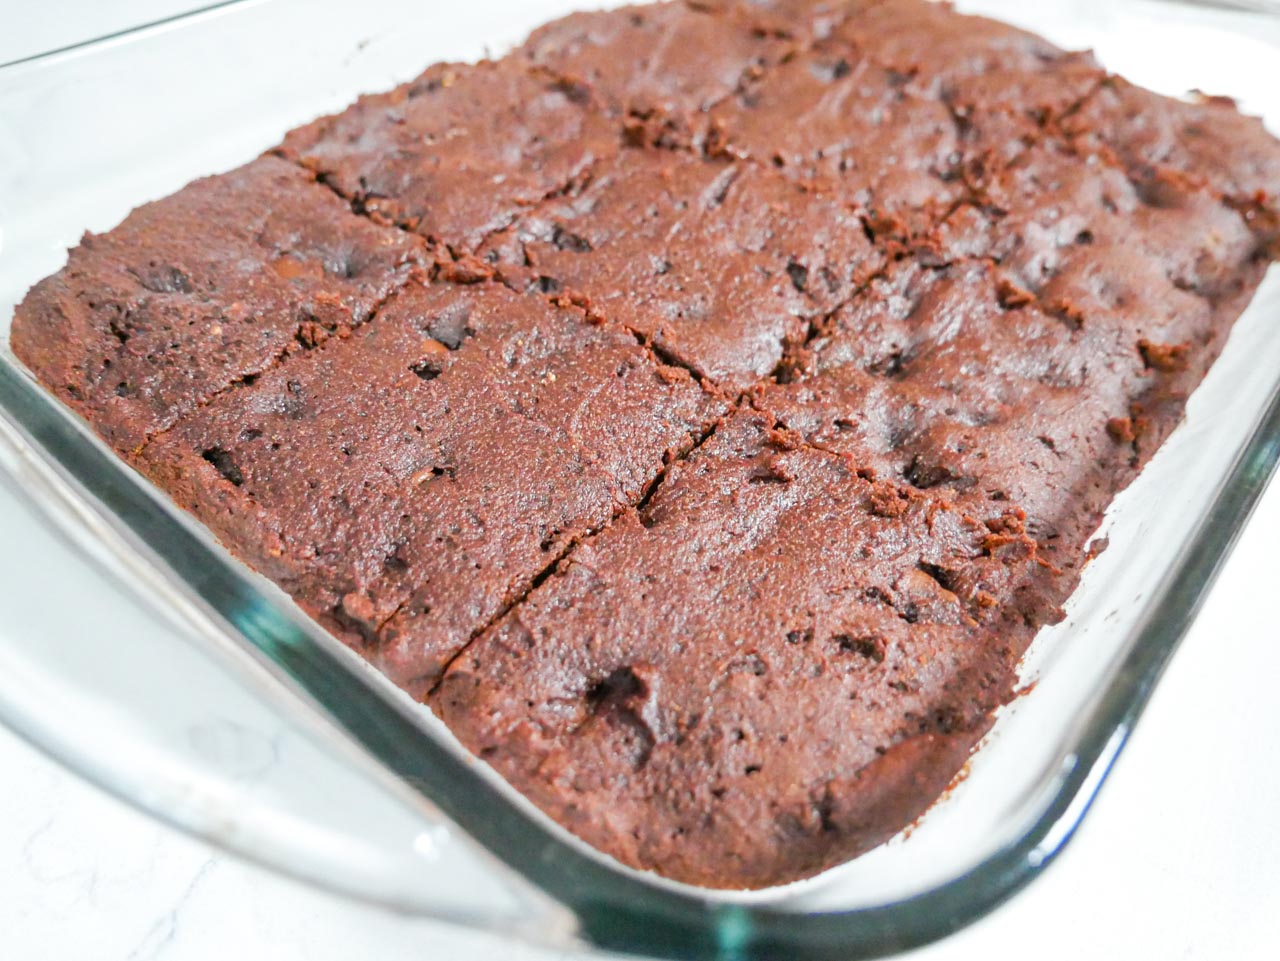
Satisfy your sweet tooth with this gooey chocolate chip tiger nut brownies. This rich cocoa version will have you licking your fingers and dabbing at those crumbs on the plate. Just a heads up though! This is a cake-like version and we aren’t mad about it! Bring a smile to loved ones by adding your favorite toppings. The best part? It’s made without eggs, gluten, or grains with our tiger nut all-purpose DIY flour! Another plus? Cocoa powder can actually improve brain function and potentially improve mood and symptoms associated with the depression due to its polyphenol and flavanol content, respectively (healthline). Who knew?
Dessert is a priority. I can always make room for something sweet even if I’m full from the previous meal. Over time though, many of my favorite desserts and even savory dishes started to incorporate the very thing I was allergic to in the form of flour and starches. I ended many nights with a terribly upset stomach, nausea, and itching.
Both my husband and son suffer from many allergies as well. When my son’s allergy test results came back, my heart sank. He was allergic to many things you would find in desserts. Grains, nuts, eggs, gluten – if you name it, he very well might be allergic to it. How could we make him feel included in our daily meals without making him sick? How do we ensure his safety when he ventures out? What if he was tempted by what other kids were eating at school down the road? What would birthday parties be like for him? It sucks!
This leads me to the tiger nut brownie recipe. We wanted our son to have equally delicious options and to feel like he could still commune with us. Brownies are a favorite in this household. Most recipes that we saw had almond flour or rice flour as an alternative to all-purpose wheat flour. Those are fine options but they just didn’t work for us.
How to get your sweet tooth fix with these tiger nut brownies
These brownies use our tiger nut all-purpose DIY flour. For a quick recap, that recipe uses tiger nut flour, arrowroot flour, coconut flour, and tapioca starch. Don’t be intimidated by the time, a good chunk of this is the resting period for these tiger nut brownies.
- In the 2-quart saucepan (or whatever saucepan you have on hand), whisk together water and 1/3 cup of tiger nut all-purpose continuously until thick. It should cling to the whisk when you lift but also drip. Set the saucepan aside and allow this mixture to cool as you prep the remaining parts of this recipe.
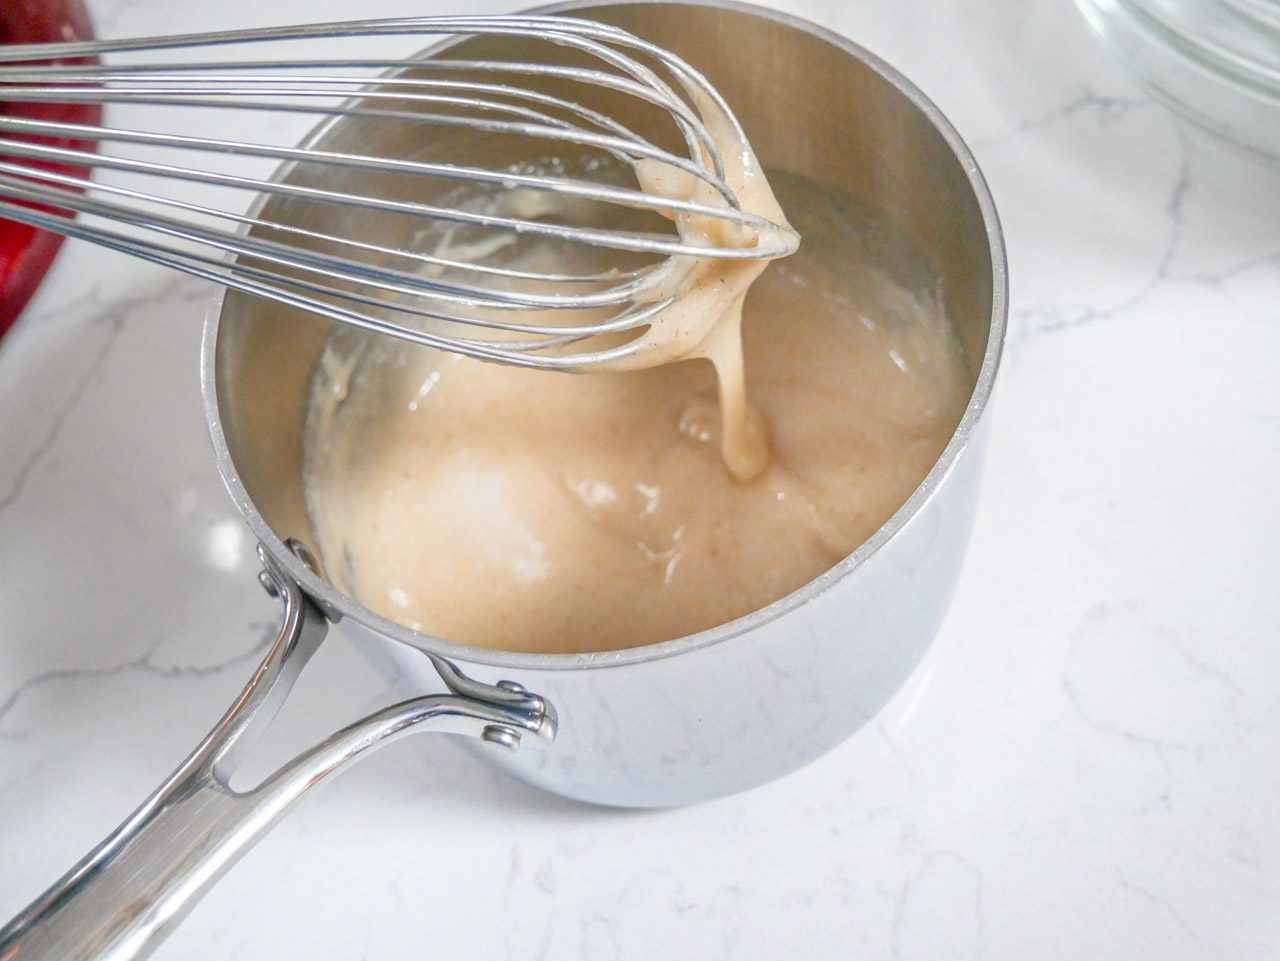
- We’re going to mix dry ingredients. In a medium mixing bowl, whisk together 2 cups of the tiger nut all-purpose flour with the salt and baking powder to ensure an even distribution.
- In the standing mixer with the whisk attachment (or a large mixing bowl with a mixer), stir extra virgin olive oil and cocoa powder until combined and smooth. Add the brown sugar and vanilla extract and continue to mix on stir (or low) speed until just incorporated.
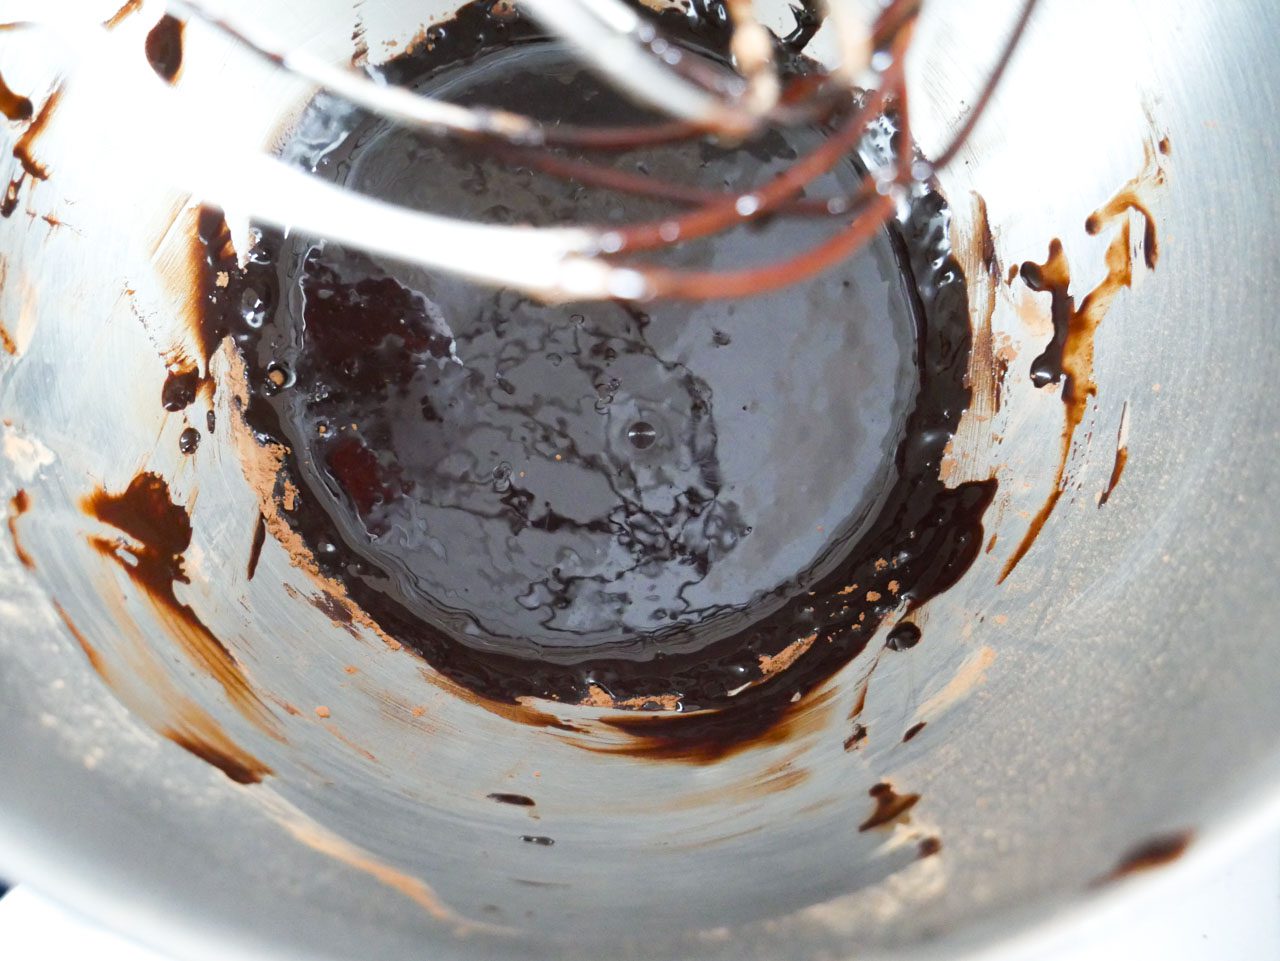
- Add the thick mixture from the saucepan to the standing mixer bowl (or a large mixing bowl with a mixer) and stir until just combined. Add the dry ingredients bowl to the standing mixer and continue to stir. The mixture will become thick but you should still be able to spread it with a spatula. If it can’t, a troubleshooting tip would be to add two to three TBS of water to loosen up the batter. Fold in chocolate chips with a spatula.
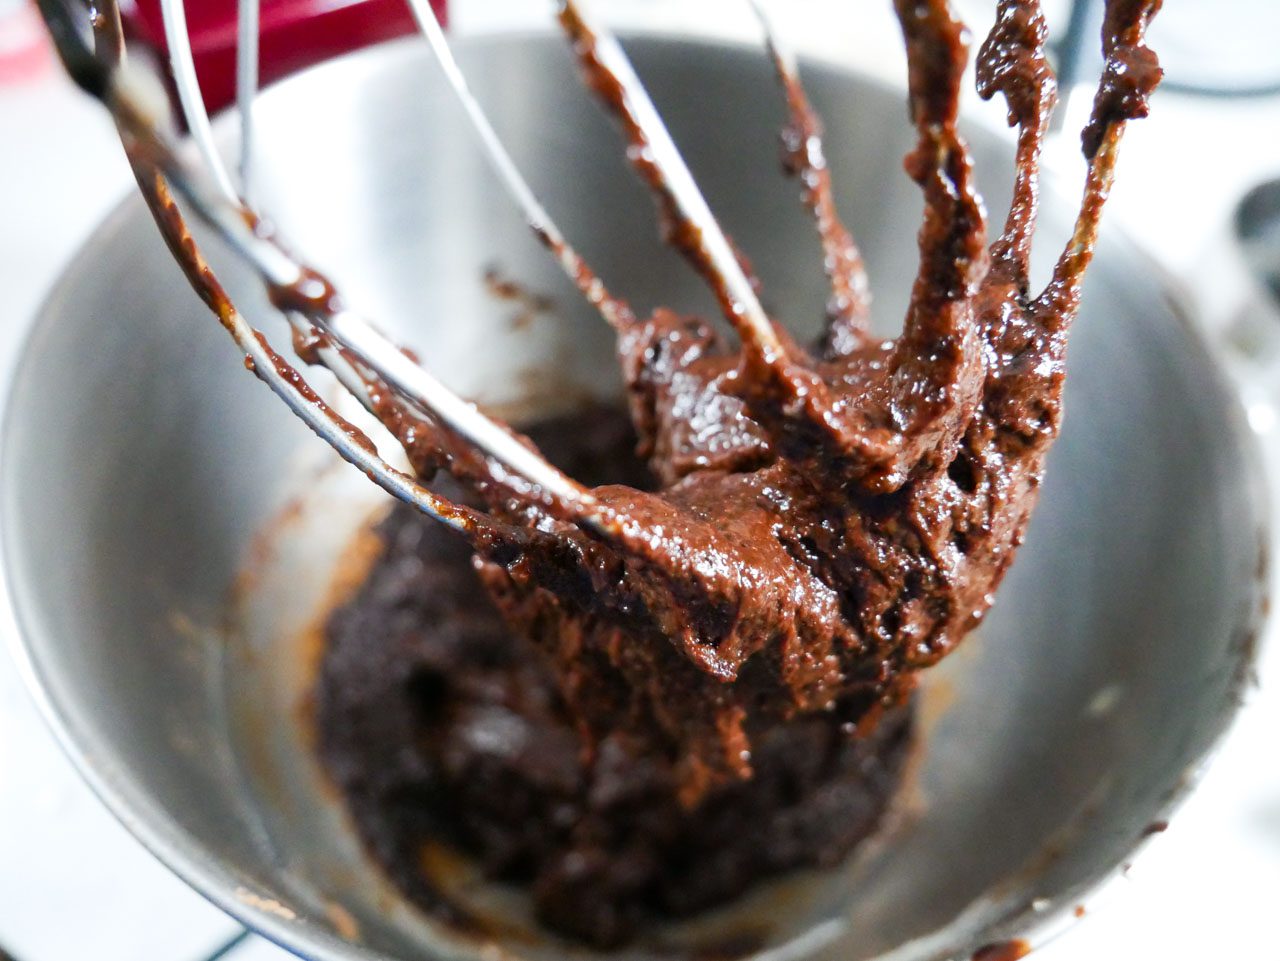
- Transfer the tiger nut brownies batter to a greased 9×13 pan and let the batter rest for 30 minutes. In the last 15 minutes of the batter rest time, preheat the oven to 350℉/177℃
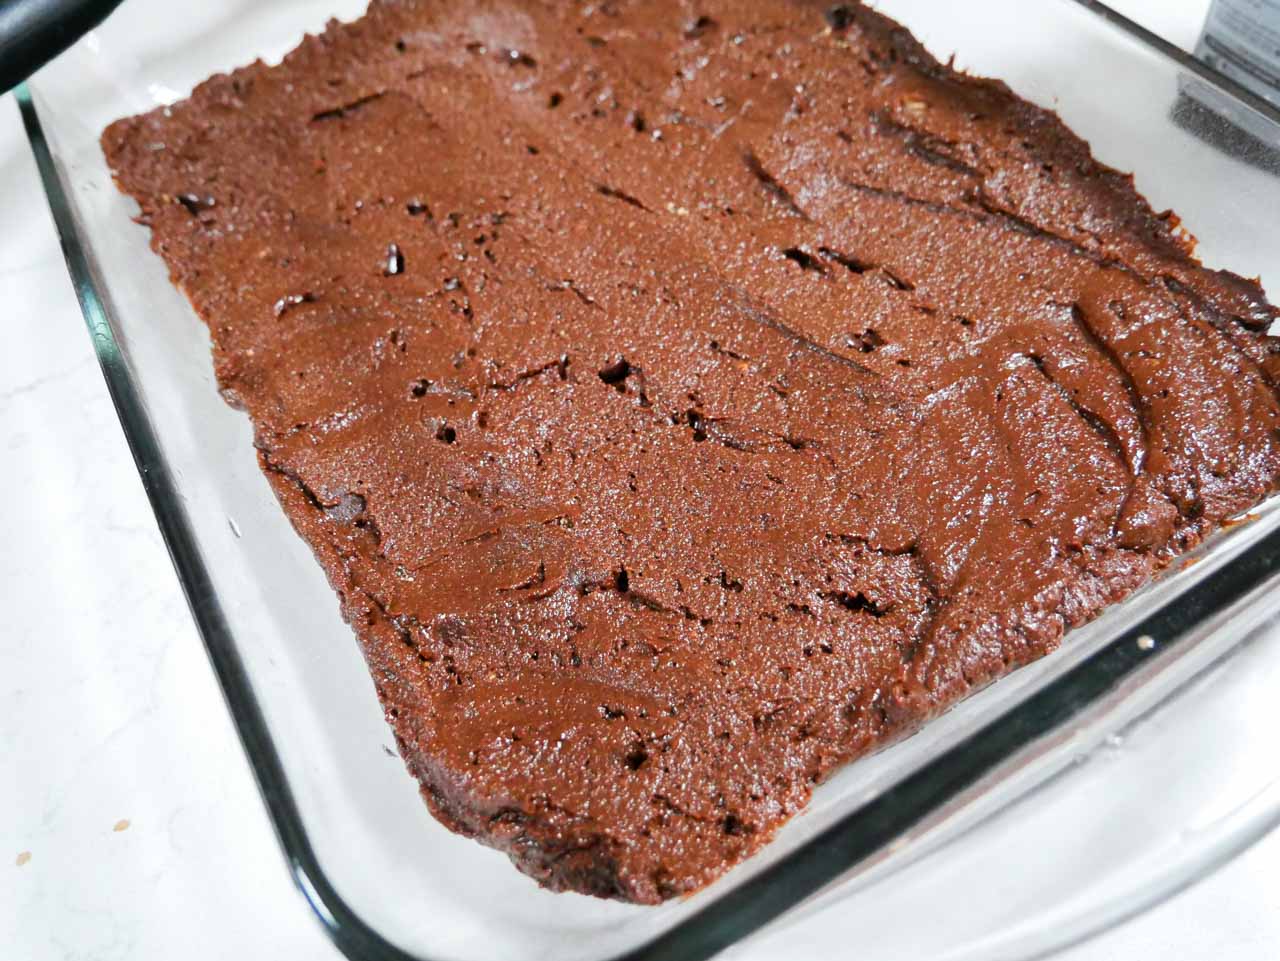
- Bake the batter for 30 minutes. Use a toothpick to test for doneness.
Ask and We’ll Answer!
Why is my batter bubbling on the surface in the oven?
This means the batter was over mixed. We recommend using stir or low speed where possible.
How to store?
You can leave the tiger nut brownies on the counter in an airtight container for four days but we recommend refrigerating it. If you want to reheat, microwave for 30 seconds or in the oven at 350℉/177℃ for 5 minutes with a damp paper towel covering.
How to check for doneness?
We recommend using a toothpick to see if it comes out mostly free of crumbs. If undercooked, bake for another three minutes at a time.

Tiger Nut Brownies
Equipment
- Standing mixer with whisk attachment or large mixing bowl and hand-held mixer
- Medium mixing bowl
- 2-quart saucepan
- Measuring cups
- Measuring spoons
- Spatula
- Whisk
Ingredients
- 1 Cup water
- 2 + ⅓ Cups tiger nut all-purpose flour, divided
- 2 ½ tsp baking powder
- ½ tsp salt
- ½ Cup extra virgin olive oil
- ⅔ Cup unsweetened cocoa powder
- 2 Cups light brown sugar, packed
- 1 tsp vanilla extract
- ½ Cup semi-sweet chocolate chips
Instructions
- In a 2-quart saucepan over medium heat, whisk together water and ⅓ cup of the tiger nut all-purpose continuously until thick. Set the saucepan aside to cool as you prepare other ingredients
- In a medium mixing bowl, whisk together 2 cups of the tiger nut all-purpose flour with the salt and baking powder to ensure an even distribution of dry ingredients
- In the standing mixer with the whisk attachment or a large mixing bowl with a mixer, stir extra virgin olive oil and cocoa powder until combined and smooth
- Add the brown sugar and vanilla extract to the standing mixer or a large mixing bowl. Continue to mix on stir speed until just incorporated
- Add the thick mixture from the saucepan to the standing mixer bowl or a large mixing bowl. Stir until just combined
- Add the dry ingredients bowl to the standing mixer/large mixing bowl and continue to stir. The mixture will become thick but you should still be able to spread it with a spatula. If it can’t, a troubleshooting tip would be to add two to three TBS of water to loosen up the batter
- Fold in chocolate chips with a spatula
- Transfer brownie batter to a greased 9×13 pan and let the batter rest for 30 minutes.
- In the last 15 minutes of the batter rest time, preheat the oven to 350℉/177℃
- Bake the batter for 30 minutes. Use a toothpick to test for doneness.
Give us a shout!
Let us know what you think of these tiger nut brownies in the comments below!

